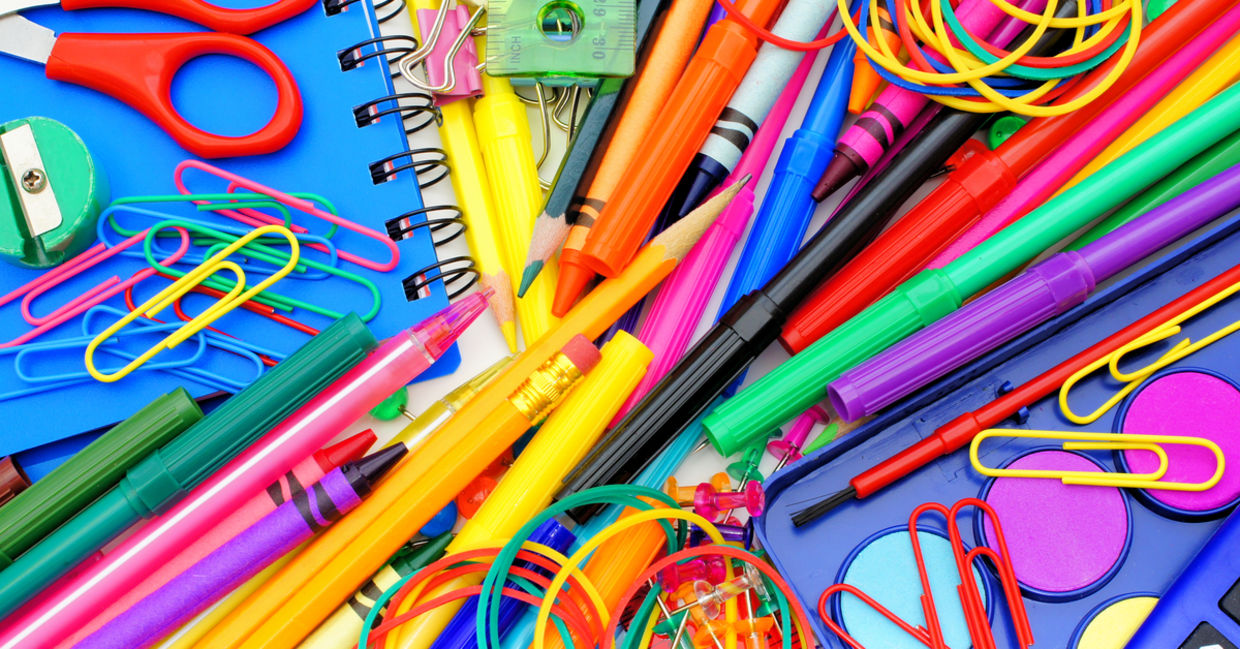
(JeniFoto / Shutterstock.com)
School is just around the corner and what better way to kick it off then with some funky homemade supplies? Get in the back to school spirit with these 5 ingenious projects.
1. COLORFUL NOTEBOOK
Spruce up any plain old notebook with this easy DIY project that will grab your eye.
WHAT YOU’LL NEED:
Spiral bound notebook
Tacky glue
Pipe cleaners
Colored paper
HOW:
1. Glue and stick the pipe cleaners onto the front cover into whatever color design you please.
2. For extra coverage, glue the pipe cleaners into the inside cover and conceal them with a glued-on sheet of colored paper.
SOURCE: Spoonful
2. MILK JUG LUNCHBOX HOLDER
This great DIY invention is also environmentally friendly as it repurposes old plastic milk jugs.
WHAT YOU’LL NEED:
Empty milk jug
Sharpie or marker
Scissors
Button
Threading needle
Embroidery floss
Elastic hairband
HOW:
1. Rinse out the milk jug and peel off the label. If any residue remains, run it under hot water and scrub away with a dish sponge.
2. To create the flaps, use a marker to draw four half circles, one on each side of the jug. Make one side as tall as possible to create the lid.
3. Cut along the inside of the lines and discard the remaining pieces.
4. Bend down all four flaps so it starts to take the form of a container. If it doesn't fold properly, try making longer slits on each corner of the milk jug.
5. To create a button loop closure, sew on a button on the top lid.
Directly underneath on the bottom base of the milk jug, pierce a hole with the edge of your scissors. Run a hairband halfway through, knotting the end from the inside of the container to hold in place.
SOURCE: Crème de la Craft
3. HEART SHAPED PAPER CLIPS
This cute trick can be used to brighten up your paperwork or to surprise a loved one. Best part is that it’s super simple to do!
WHAT YOU’LL NEED:
Paperclips
HOW:
Simply bend the paper clip at its midpoint and stick the paper through!
SOURCE: How About Orange
4. LOCKER POCKET
For kids who need to keep extra supplies in their locker, here’s an easy way to organize
and get access to your most necessary school supplies.
WHAT YOU’LL NEED:
Craft foam
Scissors
Packing tape
Glue
2 strong magnets
Small craft foam flowers and geometric shapes (sold by the package in many craft stores)
Brass paper fastener
HOW:
1. Cut a 9-inch square from the craft foam, using scissors to create a decorative edge.
2. Place the square on a flat surface and fold 2 opposite corners to the center. Fold up
the lower corner so the edges slightly overlap the side flaps. While pinching the 3 folded flaps together with one hand, secure them from the inside of the pocket with packing tape.
3. Apply glue between the overlapped edges and place a heavy book on top of the envelope to keep them flat while they're drying.
4. When the glue is dry, attach decorative foam shapes to the front of the envelope with a brass fastener.
5. Glue the magnets to the back of the envelope, one at the top and one at the bottom, and let the glue dry completely before packing the pouch.
SOURCE: Spoonful
5. MOUSTACHE BOOKMARK
This funny creation will make sure you never lose your place when reading.
WHAT YOU’LL NEED:
Mustache Template or draw your own
Paper
Glue
Scissors
HOW:
1. Print out or draw your own moustache
2. Cut a square diagonally to get the triangle and give extra 0.5 cm for each of the 5 cm side. The extras are where the glue will be applied to.
Stick the triangle on top of another rectangle and you get a corner bookmark!
3. Glue your mustache to the corner bookmark.
SOURCE: Onelmon Crafting Experiments